
I’ve been looking for a system of organising my notes, which represent a sort of “second brain” for my thoughts, for many years. I have thousands of text files on my computer, containing all sorts of to-do lists, journal snippets, ideas, things I’ve learned and half-started projects that have moved between different platforms looking for a way to become a single system. I’ve tried simply using Apple Notes and its built-in search. I have extensively used and eventually given up on Evernote. I tried Notion seriously for a while: it’s a really great idea but eventually I just couldn’t live with the privacy concerns (your data lives unencrypted on someone else’s server) and the Electron UI (ditto Typora). I tried Things, which is also a really great app, but something never clicked there for me and the notetaking functionality always seemed lacking. Lately I’ve been using iAWriter, a truly fantastic writing app for Mac and iOS. I tried Bear. I’m cautiously optimistic about Agenda. But all of these systems have had extensive lists of shortcomings, or only do one thing well, and I’ve always dreamed of being able to find something that does everything exactly the way I want it to, which can be customised and changed to fit me and not the other way around.
Let me make it a bit clearer what exactly I’ve been looking for before I explain over a series of posts how I’m using the venerable emacs and its org mode to implement a solution to pretty much all of my requirements, in a way that is based entirely on plain text and fully customisable, open-source tools. I’m looking for an organisation and notetaking system which
- provides a comfortable, reliable, fast, attractive and well-designed way of writing plain text files (usually I write in Markdown, a markup language that is popular and easily transportable across different applications);
- has a heirarchical system of organising files and folders with notes and links;
- provides a way to keep track of projects, to-do lists, recurring tasks and reminders;
- works entirely or almost entirely with the keyboard;
- is customisable and adaptable, including scripting and automation; and
- is exportable to formats like PDF and HTML so I can use it directly to write reports and documents meant for others to read.
Installation
Like a lot of people who are first taking the plunge into emacs, I tried Spacemacs for a few days; it’s a prepackaged version of emacs with a bunch of additional packages and extensions installed, in particular a slightly different UI and key commands based on vi. I struggled with it: it was slow and felt bloated and convoluted and eventually decided I wanted to learn how everything works from scratch so removed it from my system and installed a clean, “vanilla” version of GNU Emacs. Installing on my Mac (macOS 10.15 Catalina) was as simple as
brew cask install emacs
If you’ve already tried Spacemacs, removing it and replacing it with a vanilla version is a little trickier than this, because Spacemacs isn’t really a replacement application, rather a series of configuration files on top of a regular emacs install. It’s usually enough to just delete all the configuration files that Spacemacs creates on install in ~/.emacs.d and recreate the Applications icon. If you’re at all serious about using emacs long-term, I’d say it’s definitely worth spending a little bit of time setting things up the way you like them instead of trying to bend Spacemacs to your will.
You should end up when you start up the program you just installed with a very ancient-looking and plain text editor:
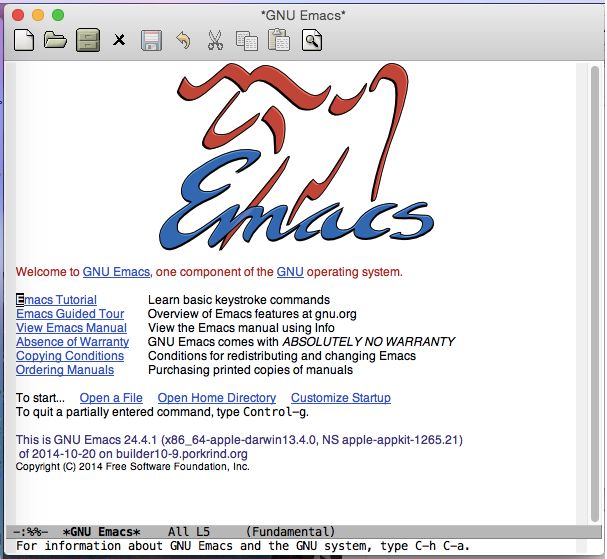
At this point, the emacs editor is technically installed but we will need to do some extensive configuration and customisation to get it looking and performing like a modern text editor. It’s worth at this point at least understanding the basics of how it works.
How to use emacs
Emacs commands are entered with the keyboard and you should almost never need to use the mouse for anything. If this sounds weird to you, stick with it for a while and you’ll realise how much faster it is and why you never want to reach for the mouse if you don’t absolutely have to. C- stands for “hold the control key while pressing”, so for example the command to open a new file is C-x C-f; hold control and press x, and then press f (with control still held down). You will then be prompted to enter a filename; if the file exists, emacs will open it, otherwise it will create a new file. Create a new file in ~/Desktop/emacs_test.txt and press RET (the enter key).
This file then opens in a buffer. A buffer is a chunk of text that you’re currently editing. You can save the contents of a buffer to a file. That’s what we’ll do now: type something using the keyboard, and then press C-x C-s to save the contents of this buffer to the file.
You can spend some time now during the emacs tutorial; type C-h t to start the built-in emacs tutorial which explains basics like how to navigate with the keyboard, how to cut and paste (emacs is so old it predates the usual ⌘-C, ⌘-V commands for cut and paste; it has a slightly different concept of “killing” and “yanking” that takes a little while to get used to) and other common tasks. I’m not sure it’s 100% necessary to go through this now; it’s a lot to learn and remember and these are the sort of things you can always figure out as you go along. It’s also a lot nicer to configure the UI a little first so you can do the tutorial in a text editor that looks like it’s from this millenium.
Customisation and configuration
If you’re anything like me, you’re extremely dissatisifed with the default appearance above and want, among other things
- dark mode (everything has a dark mode now so white backgrounds hurt my eyes and my brain)
- a more attractive fixed width font
- just in general a slightly less 1970s Linux look-and-feel
- syntax highlighting for various file formats (most importantly .md and .py)
- an informative and useful status bar at the bottom
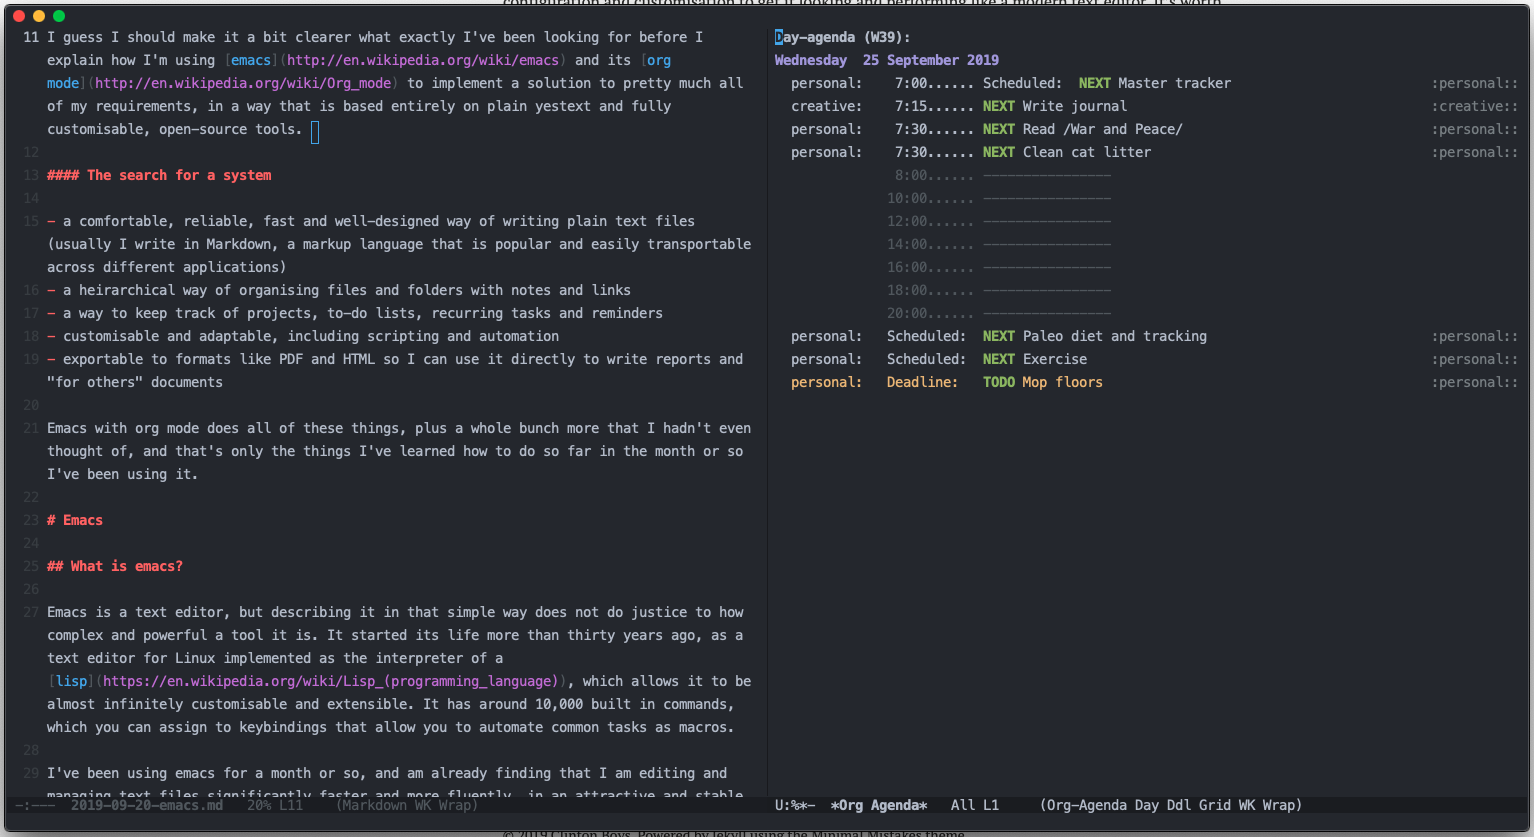
After some customisation and configuration, we’ll set up emacs to look like this:
Configuring emacs is quite simple. All the customisation is defined in a file located at ~/.emacs.d/init.el; if you open this file now (in emacs!) you will notice it’s empty; this means we are using the default emacs installation. We’re now going to add a bunch of different text to this file: actually we’re writing lines of code in emacs Lisp, to get the customisations we want.
Font and theme
I took a bunch of my original UI configuration from Huy Tr..
Icon
Again, if you’re anything like me (and I guess if you’ve read this far into my emacs setup you probably are), the first thing that will strike you as ugly and in desperate need of replacement is the dock icon. I guess I wasn’t the first person to think this; I pulled a new icon from Emacs is sexy, and replaced it according to the instructions here.
Minimal UI
I am removing parts of the UI I don’t find particularly useful (since I interact entirely through the keyboard). The first few lines of my ~/.emacs.d/init.el are:
(scroll-bar-mode -1)
(tool-bar-mode   -1)
(tooltip-mode    -1)
(menu-bar-mode   -1)
Open your ~/.emacs.d/init.el file, add those lines, save the file and reload it with M-x load-file ~/.emacs.d/init.el RET.
I’m using the Doom theme doom-one. I use dark themes pretty much wherever I can: MacOS Mojave, iOS 13, and this is a great dark mode theme for emacs. In the two modes that I write in the most, Markdown and Org mode, I like bright colourful syntax highlighting; for Org mode I actually use a custom series of colours for headings that I chose myself:
(custom-theme-set-faces 'user '(org-level-1 ((t (:foreground "#BF9D7A"))))) ;;D8A47F
(custom-theme-set-faces 'user '(org-level-2 ((t (:foreground "#D4DCA9"))))) ;;EF8354
(custom-theme-set-faces 'user '(org-level-3 ((t (:foreground "#EBF2EA"))))) ;;EE4B6A
(custom-theme-set-faces 'user '(org-level-4 ((t (:foreground "#0ABDA0"))))) ;;DF3B57
(custom-theme-set-faces 'user '(org-level-5 ((t (:foreground "#80ADD7"))))) ;;0F7173
These make the headings look nice and contrast well against the grey background.
In future posts I will further detail my emacs setup, including how I use org-mode to implement most of the note-taking requirements I mentioned at the top.